How to Measure a Radiator Core for Replacement
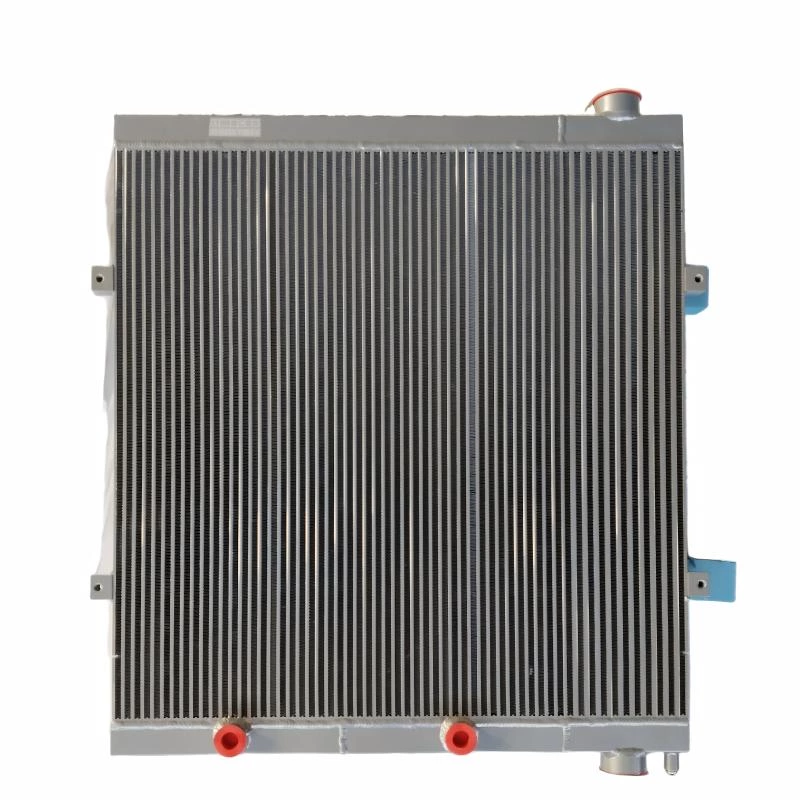
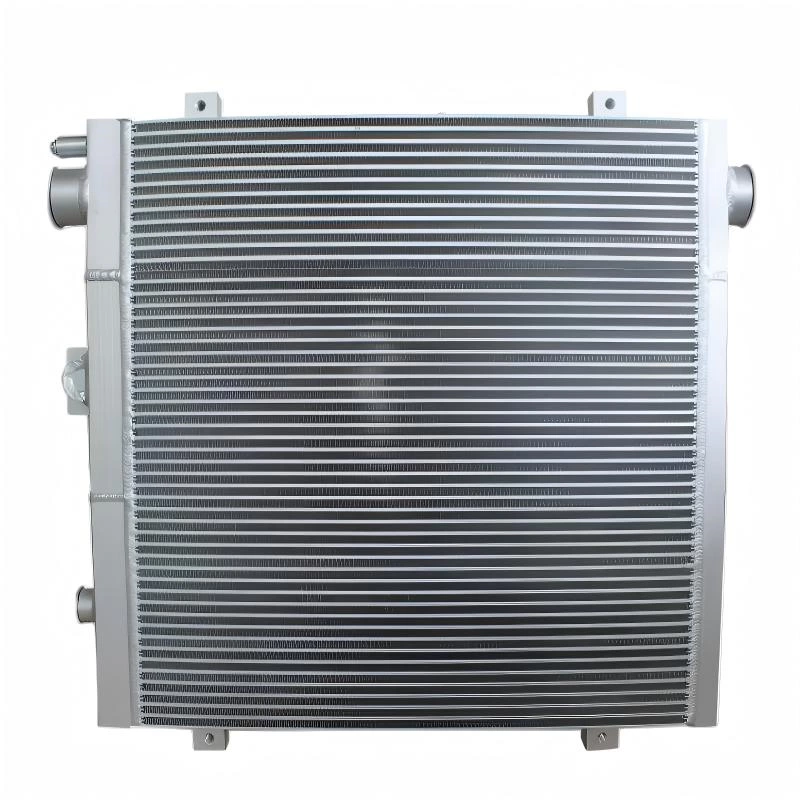
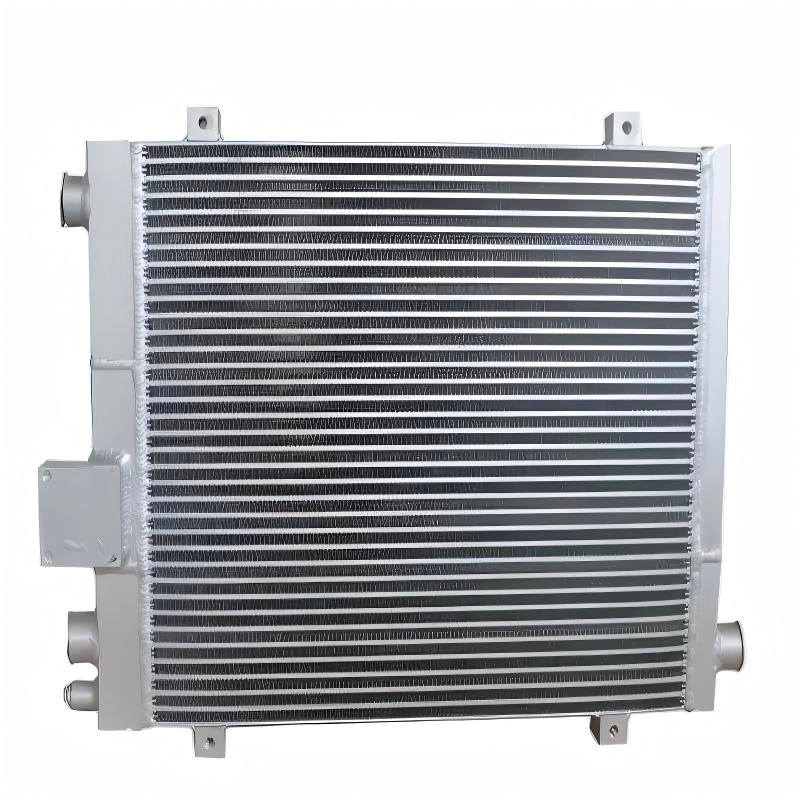
Accurate radiator core measurements are essential when replacing an old, damaged, or discontinued core. Measuring only the overall radiator size can easily lead to ordering the wrong product because the radiator core is only one part of the complete radiator assembly.
To match a replacement radiator core correctly, the main dimensions usually include core height, width, and thickness. These measurements should be taken from the heat exchange section itself, without including tanks, mounting brackets, side frames, or other external components.
Dimensions alone may not always be enough. Tube arrangement, fin structure, header design, OE number, equipment model, and existing samples can also help confirm whether a replacement core will fit and perform correctly.
This guide explains how to measure a radiator core, which dimensions matter most, what should be excluded from the measurement, and how to use the final dimensions to match a suitable replacement core.
What Measurements Do You Need for a Radiator Core?
The three basic radiator core dimensions are height, width, and thickness. Together, they define the size of the heat exchange section and provide the starting point for identifying or producing a replacement core.
| Measurement | What It Refers To |
|---|---|
| Core Height | The dimension measured in the direction of coolant flow between the headers |
| Core Width | The dimension across the finned heat exchange area |
| Core Thickness | The front-to-back depth of the radiator core |
These measurements should be taken from the core itself rather than from the complete radiator. Including tanks, brackets, mounting plates, or other structural components can result in incorrect dimensions and make replacement matching more difficult.
For older or repaired radiators, it is also useful to compare the measured dimensions with an OE number, technical drawing, or existing product sample whenever possible. This helps confirm that previous repairs or deformation have not changed the original radiator dimensions.
How to Measure Radiator Core Height
Radiator core height should be measured across the active heat exchange section of the core, not across the complete radiator assembly. The exact measurement direction depends on the radiator design, so it is important to identify how coolant flows through the core before recording the dimension.
For a downflow radiator, the core height is typically measured vertically between the upper and lower header areas. For a crossflow radiator, the corresponding dimension may run horizontally between the side headers.

When measuring, place the tape measure or ruler at the edge of the finned core section and measure to the opposite edge of the active core area. Do not include tanks, mounting brackets, side plates, or other external components.
- Measure only the active radiator core section
- Do not include upper or lower tanks
- Do not include mounting brackets or external frames
- Check the coolant flow direction before deciding which dimension is the core height
If the radiator is old, damaged, or previously repaired, take measurements at more than one point where possible. Bent headers, deformed frames, or previous modifications can affect the apparent size of the original core.
Accurate core height is important because even a small dimensional mismatch can affect how the replacement core fits between the radiator tanks or headers.
How to Measure Radiator Core Width
Radiator core width is measured across the finned heat exchange area in the direction perpendicular to the core height. The measurement should cover the usable core surface only, without including the surrounding radiator structure.
Start at one edge of the active fin area and measure directly across to the opposite edge. Side frames, mounting tabs, brackets, and tanks should be excluded from the measurement.
When matching a replacement radiator core, width should be confirmed together with height and thickness. A core with the correct height but the wrong width may not align correctly with the original radiator tanks, frame, or mounting structure.
For better accuracy, record the measurement in millimeters and compare it with any available OE information, drawing, or existing product specification before ordering.
How to Measure Radiator Core Thickness
Radiator core thickness is the front-to-back depth of the core. It should be measured across the heat exchange section itself, without including tanks, brackets, mounting plates, or other surrounding components.
Place the measuring tool across the side of the core and record the distance from the front face of the finned section to the rear face. If the core has been damaged or compressed, measure at several points and compare the results before using the dimension for replacement matching.

Thickness is especially important because it affects more than physical fit. It can also influence airflow resistance, heat transfer area, and clearance around the fan, shroud, frame, or nearby components.
- Measure only the radiator core depth
- Exclude tanks, frames, and mounting hardware
- Check several points if the old core is bent or damaged
- Confirm available clearance before choosing a different thickness
A thicker radiator core should not automatically be considered a better replacement. If the original cooling system was designed around a specific core depth, increasing thickness may create installation or airflow problems even if the new core appears to fit.
Crossflow vs Downflow Radiator Core Measurements
Radiator design affects how core height and width should be interpreted. The main difference is the direction in which coolant moves through the core.
| Radiator Type | Typical Coolant Flow | Measurement Consideration |
|---|---|---|
| Downflow Radiator | Top to bottom | Core height generally follows the vertical direction between the upper and lower headers |
| Crossflow Radiator | Side to side | Core height may follow the horizontal flow direction between the side headers |
This distinction is important because the visually taller dimension is not always the dimension used as the core height. Identifying the header position and coolant flow direction helps prevent height and width from being recorded incorrectly.
Before sending measurements to a radiator core supplier, it is useful to indicate whether the radiator is crossflow or downflow and provide photos showing the complete radiator orientation. This gives additional context when the core specification is being checked against a replacement product.
What Should Not Be Included in Radiator Core Measurements?
One of the most common causes of incorrect radiator core sizing is measuring the complete radiator instead of the core itself. The replacement core should be matched to the heat exchange section, so external tanks, brackets, frames, and mounting hardware should normally be excluded from the core dimensions.
Before measuring, identify the active finned area and the header boundaries. These define the section that should be used for core height, width, and thickness measurements.
| Component | Include in Core Measurement? |
|---|---|
| Finned Heat Exchange Area | Yes |
| Core Headers | Depends on the dimension being confirmed and supplier specification |
| Upper / Lower Tanks | No |
| Side Tanks | No |
| Mounting Brackets | No |
| Side Frames or Support Plates | No |
| Fan Shroud | No |
If there is any uncertainty about where a measurement should start or end, clear photos of the radiator can help confirm the correct reference points. This is especially useful for unusual radiator structures, older equipment, or cores that have previously been repaired.
Other Details to Record Before Ordering a Replacement Core
Height, width, and thickness are the basic dimensions, but they do not fully define a radiator core. Two cores with the same external size can still differ in tube layout, fin design, header structure, or connection details.
Tube Arrangement
Record the number, spacing, and general layout of the tubes where possible. Tube configuration affects coolant flow and can be an important reference when matching the original core.
Fin Structure
Fin density and spacing influence both heat transfer and airflow resistance. For equipment operating in dusty or debris-heavy environments, the original fin structure can provide useful guidance when selecting a replacement.
Header and Connection Details
Header dimensions, connection positions, and the relationship between the core and the tanks should also be documented. These details can affect whether the replacement core can be assembled correctly with the existing radiator components.
- Equipment or vehicle model
- OE or part number
- Core height, width, and thickness
- Tube arrangement
- Fin structure
- Header dimensions
- Connection positions
- Clear photos of the complete radiator and core
Recording these details together makes it easier to confirm whether a standard replacement radiator core is available or whether a custom core needs to be developed from dimensions, drawings, or samples.
Common Radiator Core Measuring Mistakes
Accurate measurements are essential when matching a replacement radiator core, but several common mistakes can lead to incorrect sizing. Most problems occur when the complete radiator is measured instead of the core itself, or when damaged components are used as the only reference.
Before recording any dimensions, make sure the measuring points are clearly identified and that the radiator is positioned correctly.
Measuring the Complete Radiator Assembly
Overall radiator dimensions include tanks, mounting brackets, side frames, and other components that are not part of the core. Using these measurements can result in a replacement core that is too large or does not align with the original radiator structure.
Height, width, and thickness should therefore be taken from the heat exchange section rather than from the outer edges of the complete radiator.
Confusing Core Height and Width
Core height and width can be recorded incorrectly when the radiator orientation is not considered. This is especially common with crossflow radiators, where coolant moves horizontally between side headers.
Checking the header position and coolant flow direction before measuring can help avoid reversing these dimensions.
Ignoring Core Thickness
Some buyers provide only height and width when requesting a replacement core. However, thickness is equally important because it affects installation clearance, airflow, and the physical relationship between the core and surrounding radiator components.
Always record all three basic dimensions:
- Core height
- Core width
- Core thickness
Measuring a Damaged or Deformed Core
An old radiator core may be bent, compressed, corroded, or previously repaired. Measurements taken from only one damaged area may not represent the original specification.
When possible, measure the core at several points and compare the results with an OE number, technical drawing, radiator frame, or undamaged section.
Using Rounded or Estimated Dimensions
Approximate measurements may be sufficient for initial identification, but they should not be used for final production confirmation. Small differences can affect header alignment, tank assembly, and fitment.
Record dimensions as accurately as possible, preferably in millimeters, and clearly indicate where each measurement was taken.
| Measuring Mistake | Possible Result |
|---|---|
| Including tanks or brackets | Incorrect overall core size |
| Reversing height and width | Wrong replacement specification |
| Ignoring thickness | Fitment or airflow problems |
| Measuring only a damaged area | Inaccurate original dimensions |
| Using estimated measurements | Assembly and compatibility issues |
How to Use Your Measurements to Match a Replacement Radiator Core
Once the radiator core height, width, and thickness have been confirmed, these dimensions can be used as the starting point for replacement matching. However, dimensions should be combined with product and application information whenever possible.
For an existing standard radiator, the measured size can be checked against the equipment model and OE number. If the dimensions and structural details match an available specification, a standard replacement core may be suitable.
When no OE number is available, measurements can be combined with photos, tube and fin details, header dimensions, and an existing sample to identify or develop the correct core.

A practical matching process is:
- Record core height, width, and thickness
- Confirm whether the radiator is crossflow or downflow
- Record the equipment model and OE number if available
- Photograph the complete radiator and core structure
- Check tube, fin, header, and connection details
- Compare the information with an available replacement specification
- Use drawings or samples when a standard core cannot be matched
For older, discontinued, or non-standard radiators, accurate measurements can also provide the basis for custom core development. In these cases, working with an experienced radiator core supplier can help determine whether an existing core can be matched or a new specification needs to be produced.
Conclusion
Knowing how to measure a radiator core correctly can make replacement matching much more reliable. Height, width, and thickness should always be measured from the core itself, while tanks, brackets, and other external radiator components should be excluded.
Dimensions should also be considered together with tube configuration, fin structure, header design, equipment model, and OE information. When the original specification is unavailable, photos, drawings, or an existing sample can provide additional references for identifying the correct core.
If a standard product cannot match the original radiator, an experienced radiator core supplier can use confirmed dimensions, drawings, OE information, or samples to evaluate a suitable replacement or custom aluminum radiator core solution.